
Understand your Pebblebee device’s button pressesUpdated a month ago
 |  |  |
Your Pebblebee device uses its built-in button for checking the battery, entering pairing mode, finding your phone, connecting to the Pebblebee app, and activating supported safety features.
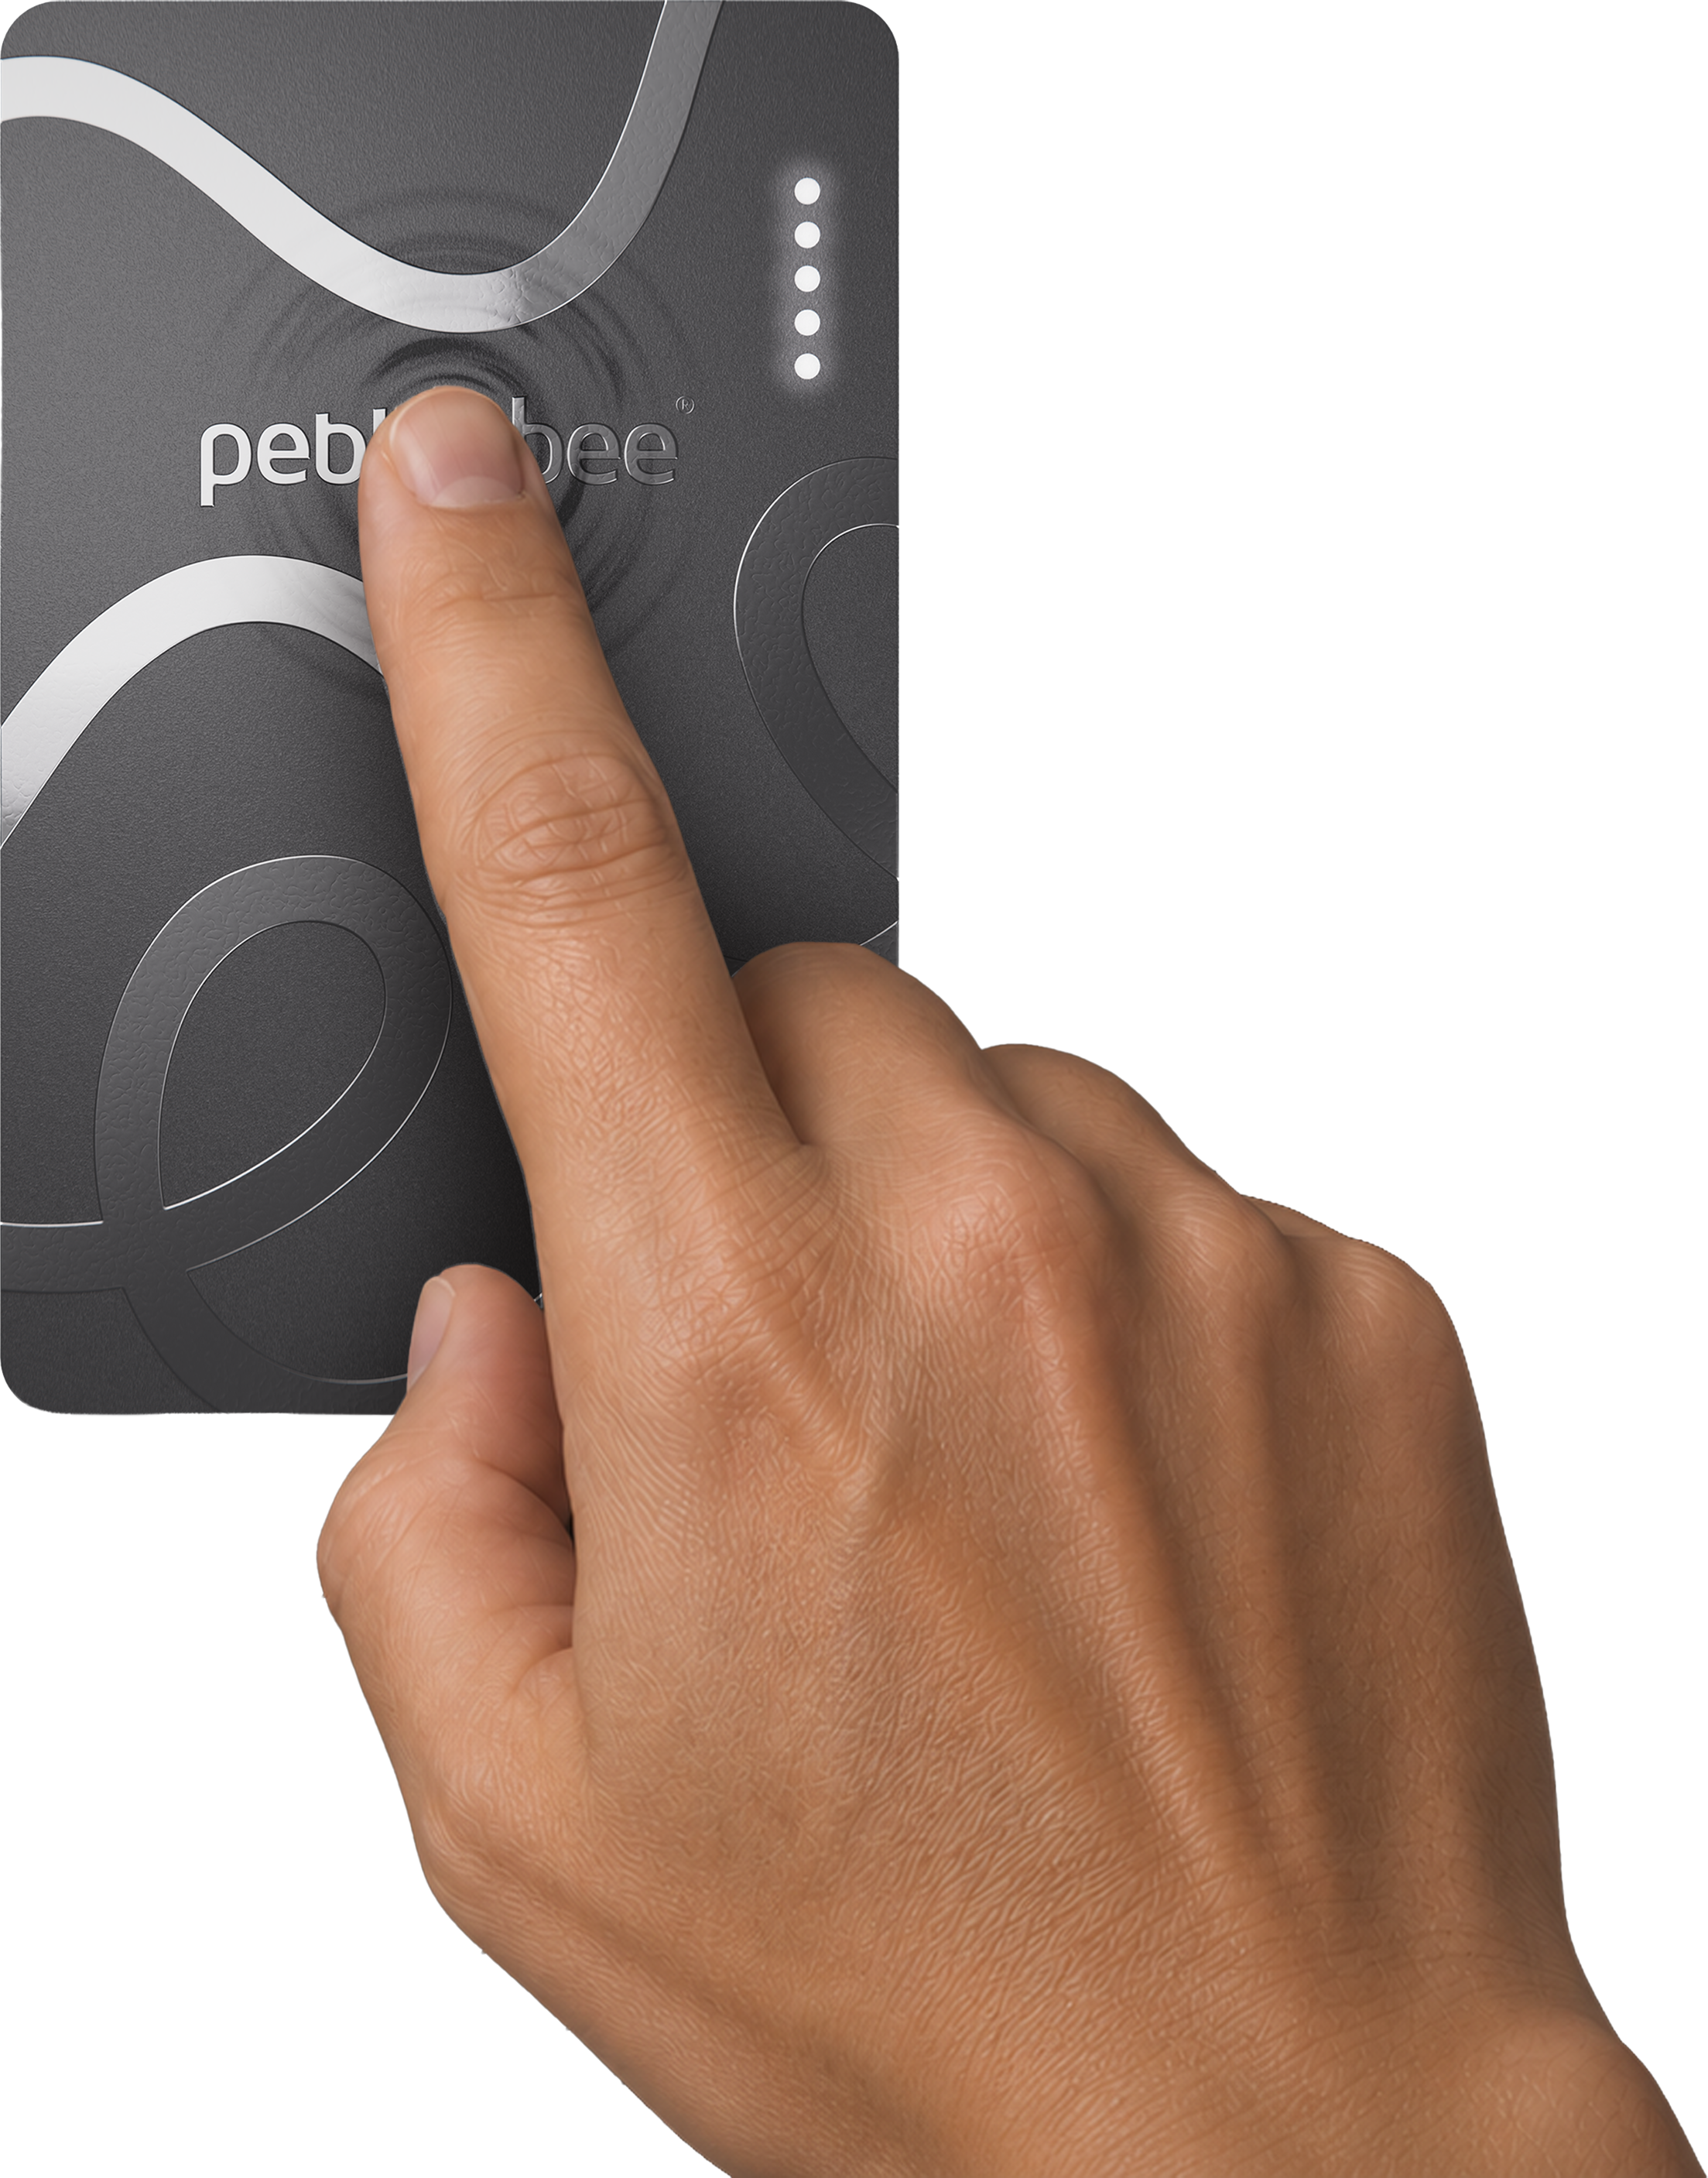
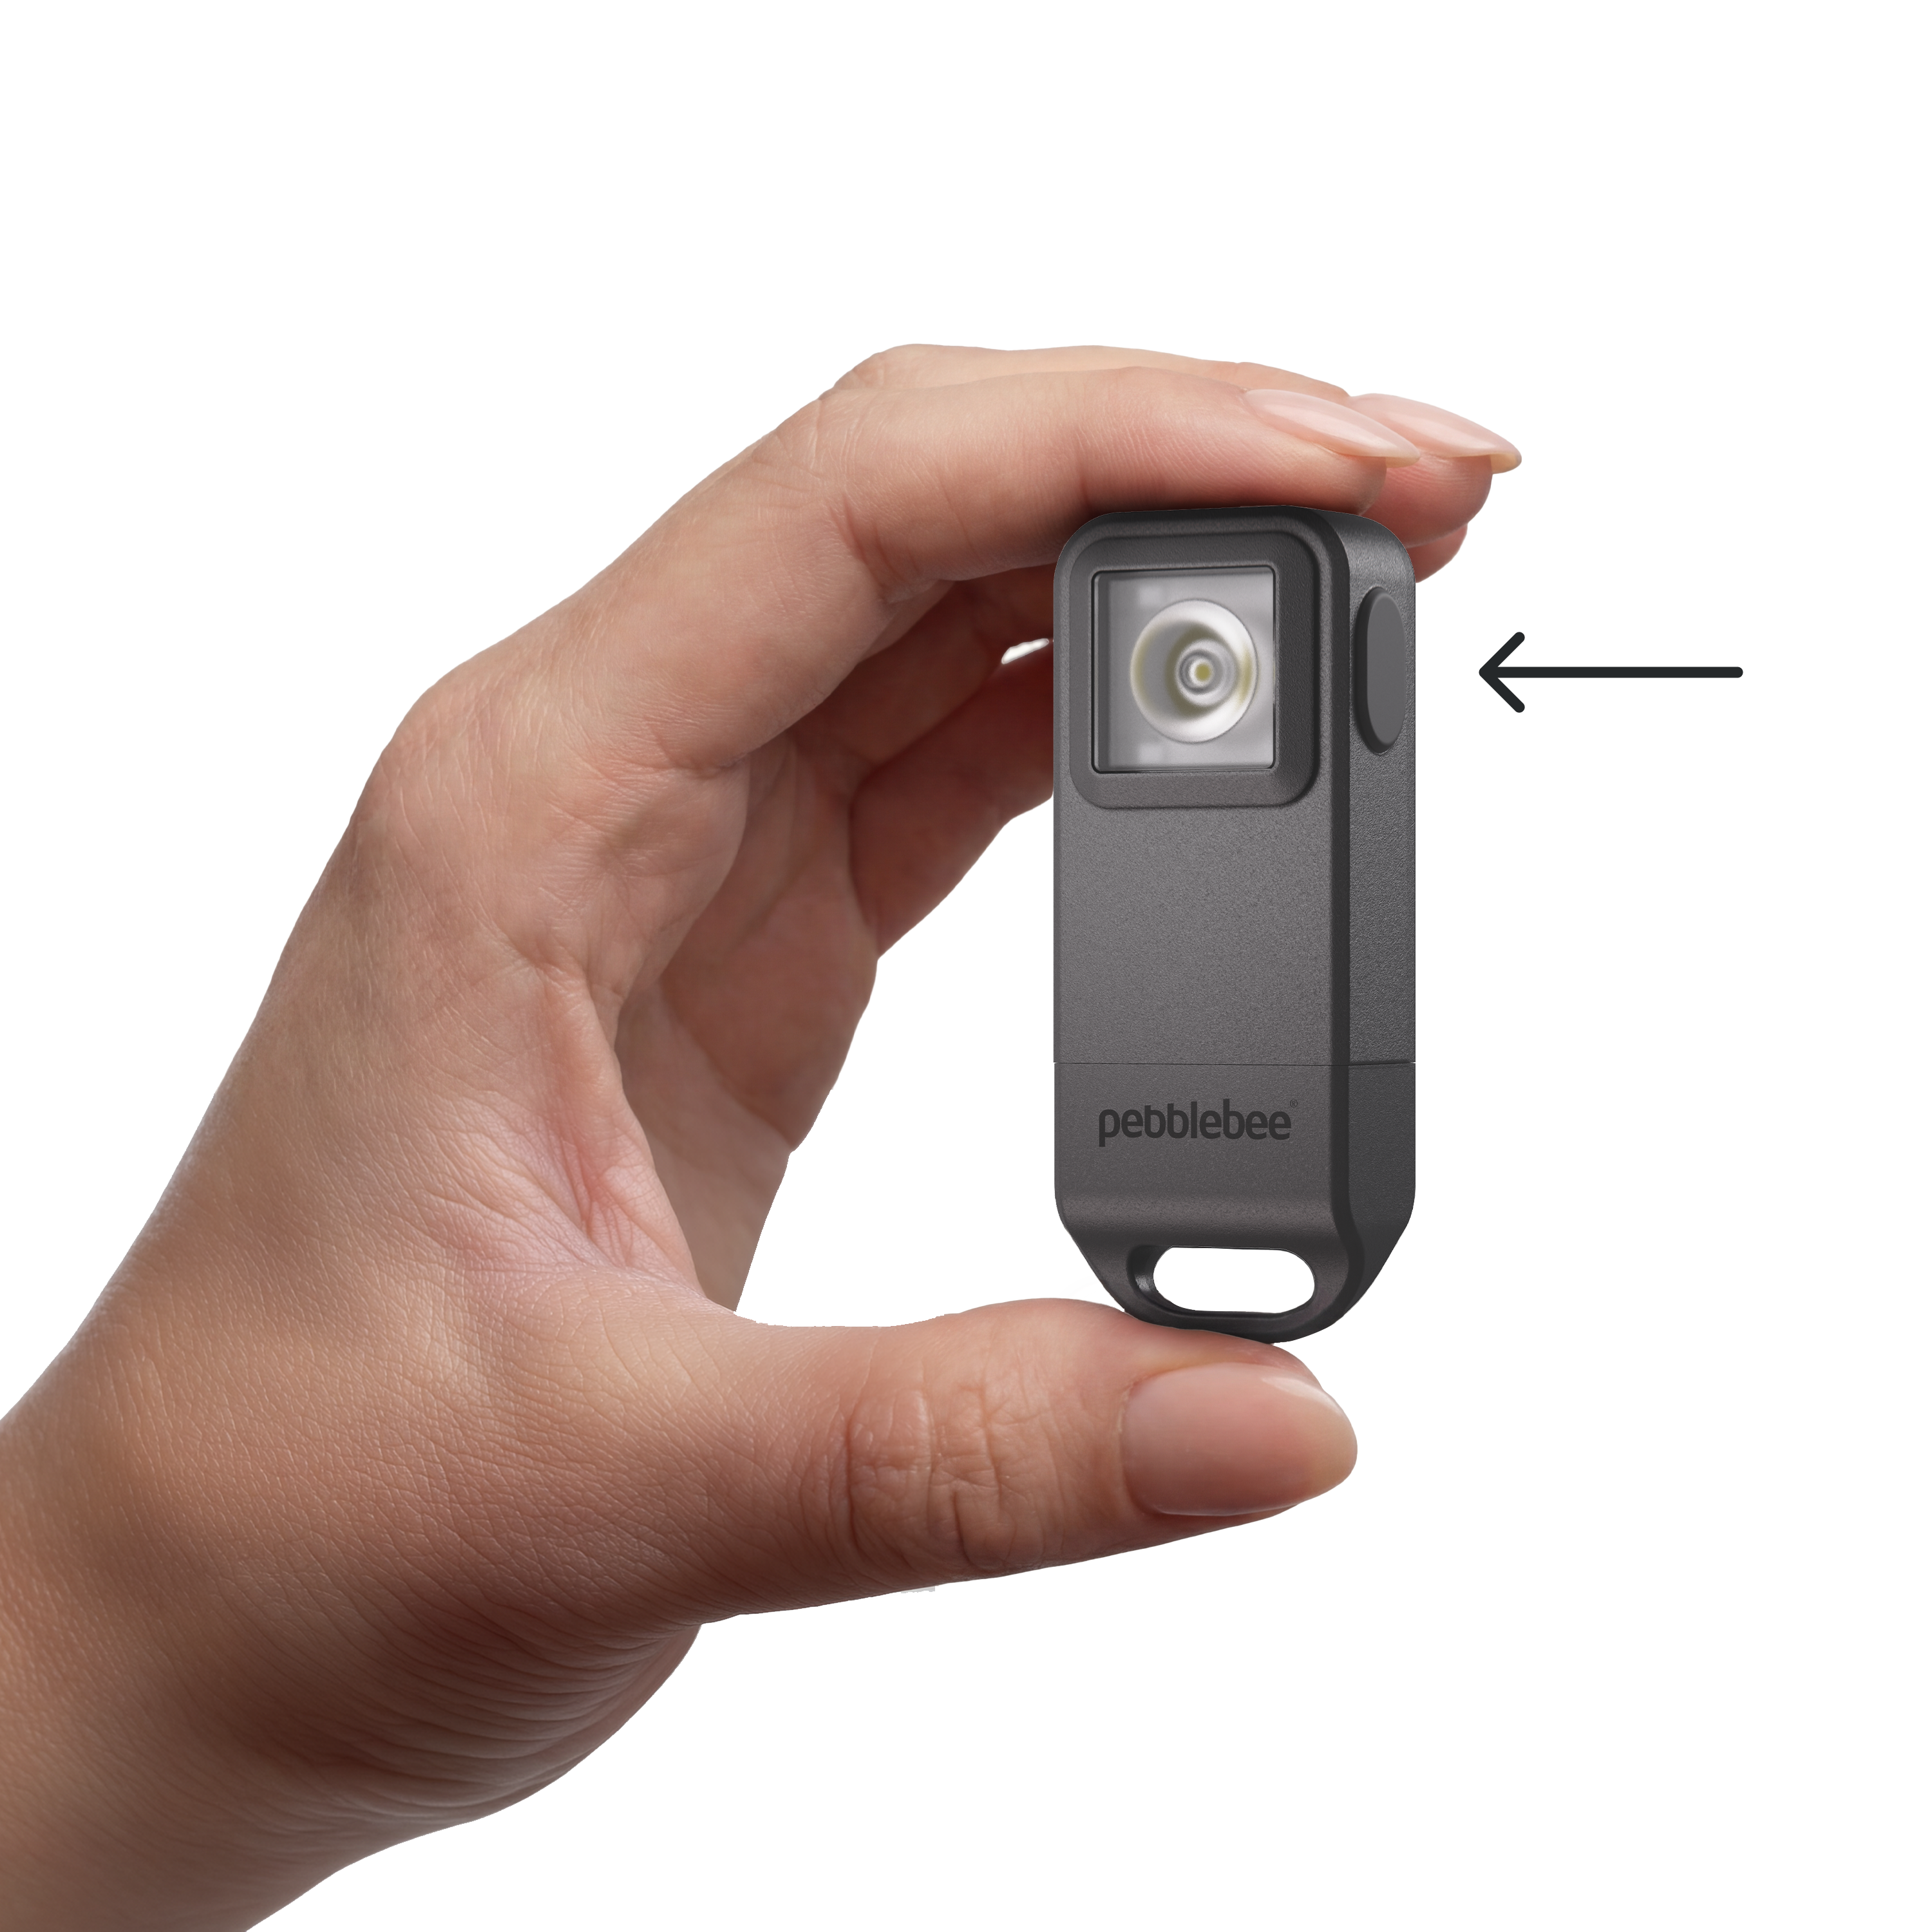
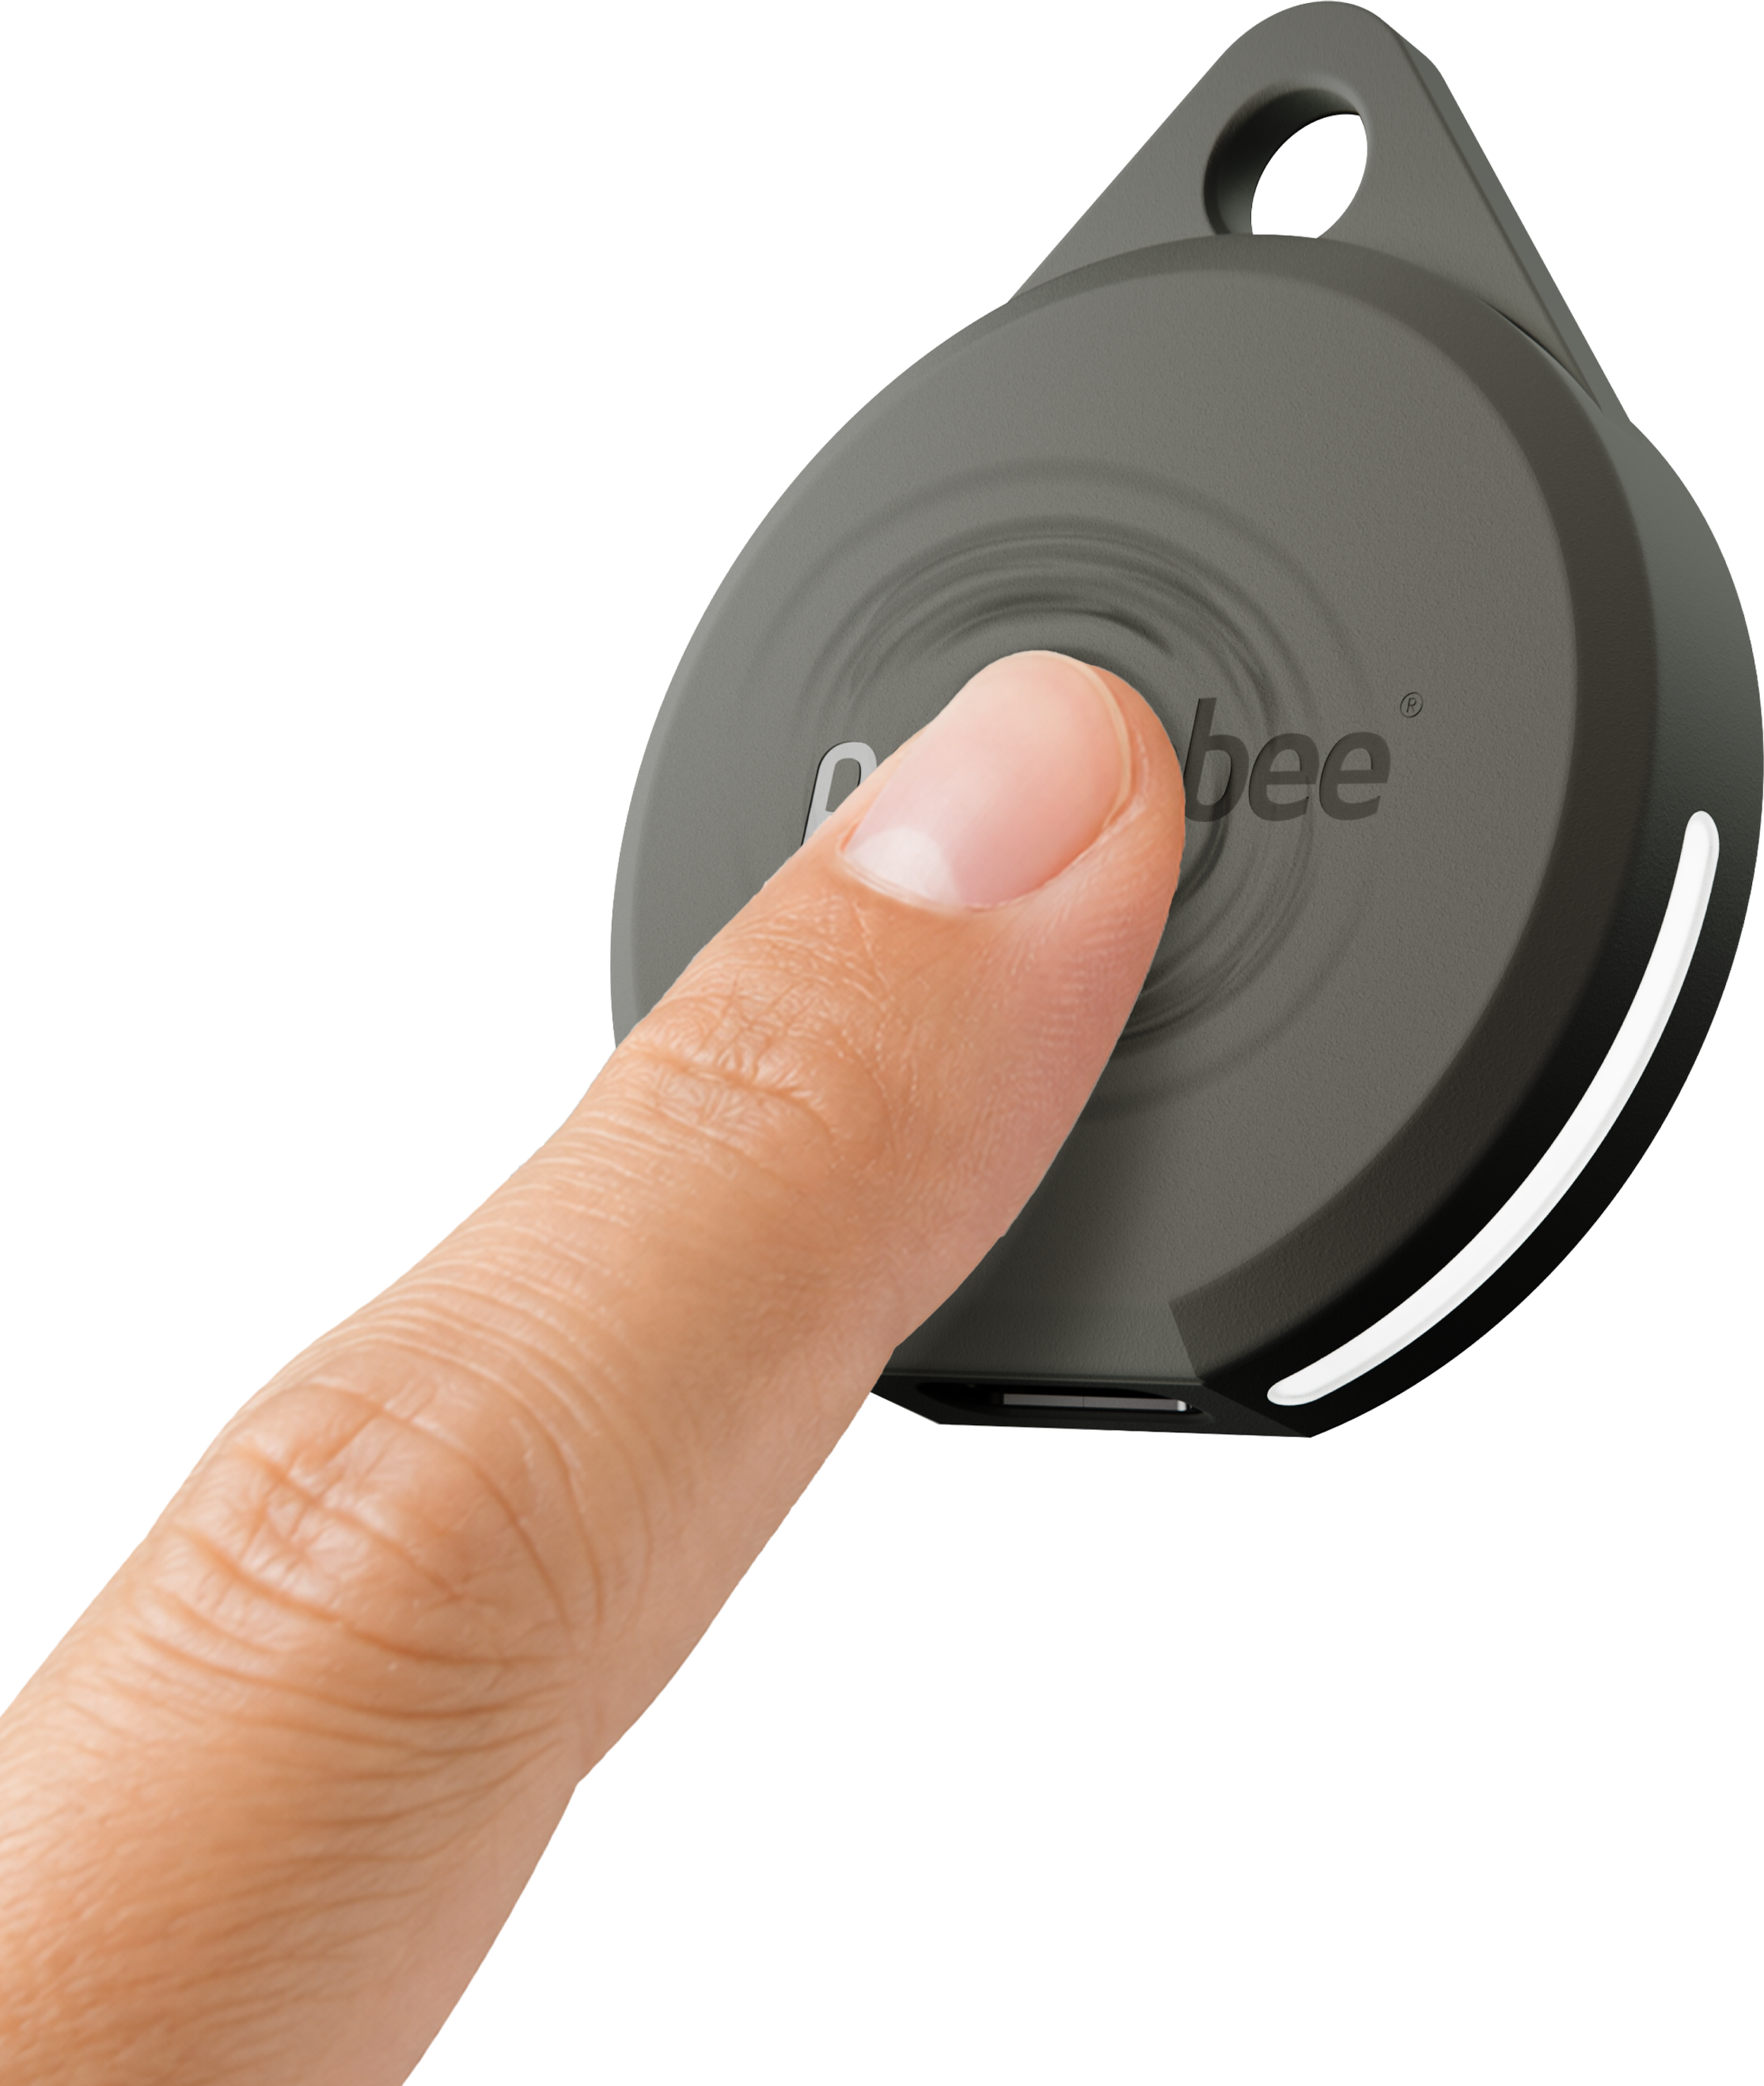
The button’s location and available controls vary by device and generation. If you are unsure where the button is located, select your product and model:
Button timing matters. Press firmly, release the button completely between presses, and listen or watch for confirmation from the device.
Press and hold: Check the battery
Press and hold the button to display the device’s battery status.
Clip and Halo
The lights indicate the current battery level:
Green: Fully charged
Yellow: Charge the device soon
Red: Charge the device now
Card
The number of illuminated lights indicates the battery level:
Five lights: Fully charged
One or two lights: Charge the Card soon
Tag models use a different battery indicator. See How to Check and Charge Your Tag Battery.
For complete charging and battery information, see Charge your Pebblebee device and check its battery.
Double-press: Enter pairing mode
Double-press the button to put your device into pairing mode for Apple Find My or Google’s Find Hub.
Press the button twice quickly.
Release the button after the second press.
Listen for a beep and watch for the lights confirming that pairing mode is active.
Follow the setup instructions on your phone.
For instructions specific to your device and generation, select the appropriate Clip, Card, or Tag setup guide.
Important: A Pebblebee device can use Apple Find My or Google’s Find Hub, but it cannot use both tracking networks at the same time.
Double-press: Find your phone
After Phone Finder has been enabled, double-pressing the device button makes your phone ring.
Before using Phone Finder, confirm that:
Your device is paired with Apple Find My or Google’s Find Hub.
Your device is also added to the Pebblebee app.
Phone Finder is enabled in the Pebblebee app.
Bluetooth, Location, and Notifications are enabled on your phone.
Double-press and release the device button to make your phone ring. Swipe or tap the notification on your phone to stop the sound.
For setup and troubleshooting instructions, see How to Use the Phone Finder Feature on Your Device.
Five presses: Connect to the Pebblebee app
Press the device button five times when adding it to the Pebblebee app.
Open the Pebblebee app.
Tap the + icon.
Select Claim Device.
When prompted, press the device button five times.
Listen for the confirmation sound.
Follow the remaining instructions in the app.
If the device does not respond, try pressing slightly faster or slower.
Five presses may also be required to confirm changes to features such as Phone Finder or Clip Alert. Follow the instructions shown in the Pebblebee app.
Eight rapid presses: Activate Clip Alert
Clip Alert is a safety feature available on supported Pebblebee Clip models. When enabled, it activates the Clip’s lights and siren and sends your location to members of your Safety Circle.
Before using Clip Alert, make sure:
Your Clip is added to the Pebblebee app.
Alert is enabled in the app.
Bluetooth, Location, and Notifications are enabled.
Press the Clip button eight times quickly to activate the alert.
Warning: Clip Alert produces a loud siren. Test it in a suitable location and protect your hearing.
For complete setup and usage instructions, see How to Use the Clip Alert Feature for Safety and Peace of Mind.
Note: Button controls vary by device, generation, firmware version, and enabled features. If a command does not work, confirm that your device and Pebblebee app are updated and try the sequence again.